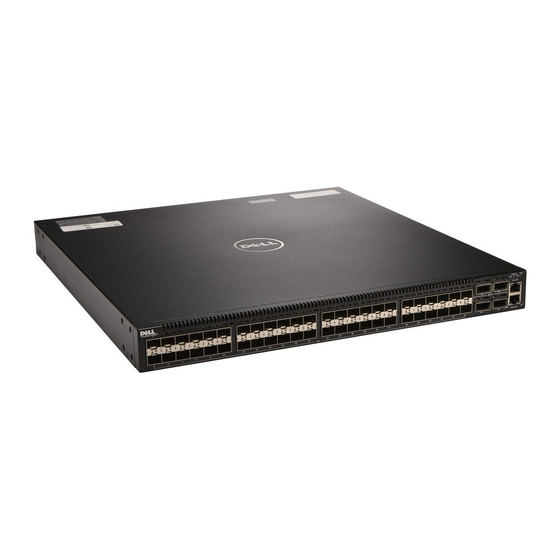
Dell Networking S4810 Getting Started Manual
Open networking
Hide thumbs
Also See for Networking S4810:
- Reference manual (1761 pages) ,
- Installing manual (58 pages) ,
- Configuration manual (17 pages)
Summary of Contents for Dell Networking S4810
- Page 1 Dell Networking S4810–Open Networking (ON) Getting Started Guide Regulatory Model: S4810...
- Page 2 WARNING: A WARNING indicates a potential for property damage, personal injury, or death. Copyright © 2014 Dell Inc. All rights reserved. This product is protected by U.S. and international copyright and intellectual property laws. Dell ™...
-
Page 3: Table Of Contents
Contents 1 About this Guide......................5 2 Install the Hardware....................7 ..........................7 Install the Chassis ......................8 Attaching the Mounting Brackets ....................8 Rack Mounting Safety Considerations ..................9 Mounting the Chassis in a Rack or Cabinet ....................9 Attaching the Ground Cable (Optional) ......................10 Important Points to Remember... -
Page 5: About This Guide
About this Guide This document is intended as a Quick Start Guide to get new systems up and running and ready for configuration. For complete installation information, refer to Installing the S4810–Open Network (ON) System. About this Guide... -
Page 7: Install The Hardware
Install the Chassis To install the S4810–Open Networking (ON) system, Dell Networking recommends completing the installation procedures in the order presented here. NOTE: Always handle the system and its components with care. Avoid dropping the S4810–ON chassis or its field replaceable units. -
Page 8: Attaching The Mounting Brackets
Attaching the Mounting Brackets The S4810–ON is shipped with mounting brackets (rack ears) and the required screws for rack or cabinet installation. The brackets are enclosed in a package with the chassis. Take the brackets and screws out of their packaging. Attach the brackets to the sides of the chassis at the power supply unit (PSU) end, using four screws for each bracket. -
Page 9: Mounting The Chassis In A Rack Or Cabinet
The S4810–ON requires one M4x0.7 screw for attaching a ground cable to the chassis. To properly ground the chassis, Dell Networking recommends a 6 AWG one-hole lug, #10 hole size, 63" spacing. The one-hole lug must be a UL-recognized, crimp-type lug. -
Page 10: Important Points To Remember
PSUs for full redundancy and proper cooling. To avoid overheating if the switch needs to run with only one PSU for a time, Dell Networking recommends using PSU1 (on the left) and covering the second PSU slot opening with a blank plate. -
Page 11: Installing Ac Power Supplies
Installing AC Power Supplies Remove the PSU from the electro-static bag. Use the grab handle to slide the PSU into the switch PSU slot. Figure 4. Install the AC Power Supply Unit Tighten the securing screws on the PSU. Attach the power cables. NOTE: The system is powered-up as soon as you connect the power cord between the system and the power source. -
Page 12: Installing The Sfp+ And Qsfp+ Optics
The S4810–ON has 48 small form-factor pluggable plus (SFP+) optical ports and four quad small form- factor pluggable plus (QSFP+) optical ports. For a list of supported optics, refer to the S4810–ON data sheet at www.dell.com or contact your Dell Networking representative. -
Page 13: Ac Power
AC Power CAUTION: Ensure that the PSU is installed correctly. The AC power connector must be on the left side of the PSU and the status LED at the top of the PSU. Connect the plug to each AC power connector. Make sure that the power cord is secure. As soon as the cable is connected between the S4810–ON and the power source, the switch is powered- up;... -
Page 15: Technical Specifications
Technical Specifications NOTE: Operate the system at an ambient temperature not higher than 40°C. CAUTION: Lithium Battery Caution: There is a danger of explosion if the battery is incorrectly replaced. NOTE: Replace the battery only with the same or an equivalent type. Dispose of the batteries according to the manufacturer's instructions. - Page 16 Parameter Specifications 350 Watts (AC) Maximum system power input Technical Specifications...


