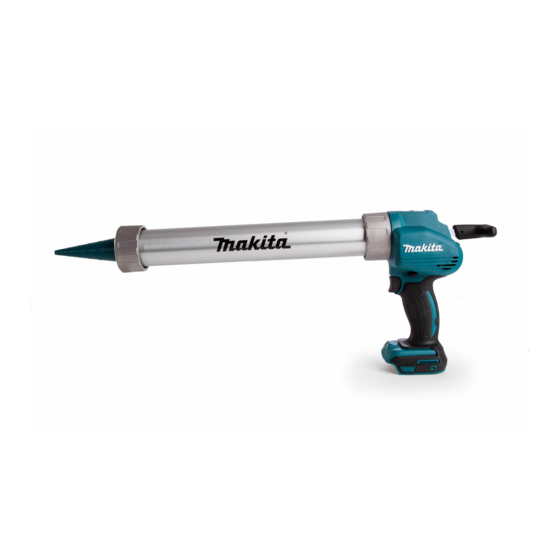
Makita DCG140 Instruction Manual
Cordless caulking gun
Hide thumbs
Also See for DCG140:
- User manual ,
- Instruction manual (85 pages) ,
- Használati kézikönyv manual (10 pages)
Table of Contents
Advertisement
Quick Links
Advertisement
Table of Contents

Summary of Contents for Makita DCG140
- Page 1 INSTRUCTION MANUAL Cordless Caulking Gun DCG140 DCG180 Read before use.
-
Page 2: Specifications
For European countries only Intended use EC Declaration of Conformity surface. Noise Makita declares that the following Machine(s): Cordless Caulking Gun Sound pressure level (L Conforms to the following European Directives: Wear ear protection Vibration Makita, Jan-Baptist Vinkstraat 2, 3070, Belgium... -
Page 3: General Power Tool Safety Warnings
12. Prevent unintentional starting. Ensure the Director switch is in the off-position before connecting Makita, Jan-Baptist Vinkstraat 2, 3070, Belgium to power source and/or battery pack, picking up or carrying the tool. Carrying power tools with General Power Tool Safety Warnings that have the switch on invites accidents. - Page 4 MISUSE or also void the Makita warranty for the Makita tool and failure to follow the safety rules stated in charger.
-
Page 5: Functional Description
Battery protection system FUNCTIONAL DESCRIPTION extend battery life. CAUTION: tool and/or battery are placed under one of the following ing or checking function on the tool. it to draw an abnormally high current. Installing or removing battery In this situation, release the switch trigger on cartridge the tool and stop the application that caused switch trigger again to restart. - Page 6 Overload warning lamp light up for a few seconds. Indicator lamps Remaining capacity Lighted Blinking 75% to 100% 50% to 75% 25% to 50% 0% to 25% Charge the battery. loaded. If the load reaches some point, the lamp keeps may have malfunctioned.
- Page 7 Lighting up the lamp Installing holder joint CAUTION: directly. reverse. 1. Lamp NOTE: accessory), short holder (300ml) and long keeps on lighting while the switch trigger is being pulled. accordingly. switch trigger is released. NOTE: Installing rod and piston lamp. Be careful not to scratch the lens of lamp, or it may lower the illumination.
- Page 8 NOTICE: Installing cartridge NOTICE: not use other type of piston for cartridge. the type of caulking material container. Improper Installing the cartridge into the short piston may cause leakage or tool breakage. holder (300ml) short holder (300ml), and the long rod for long with holder type.
-
Page 9: Operation
Remove the holder cap from the holder. 1. Rubber ring 2. Nozzle 3. Holder cap 1. Holder cap Insert the cartridge into the holder. NOTE: of the cartridge. damage before installing. Do not use damaged take out the cartridge. pack, otherwise the tool may be damaged. NOTICE: age before installing. -
Page 10: Optional Accessories
Replace the caulking material when it happens. If you need any assistance for more details regard- NOTE: If the caulking material is not dispensed, ing these accessories, ask your local Makita Service Center. tip suitable for individual operation. Remove the hardened material. - Page 12 Jan-Baptist Vinkstraat 2, Makita Europe N.V. 3070 Kortenberg, Belgium 3-11-8, Sumiyoshi-cho, Makita Corporation Anjo, Aichi 446-8502 Japan 885260D229 www.makita.com 20170612...


