Advertisement
Quick Links
Download this manual
See also:
User Manual
D-Link
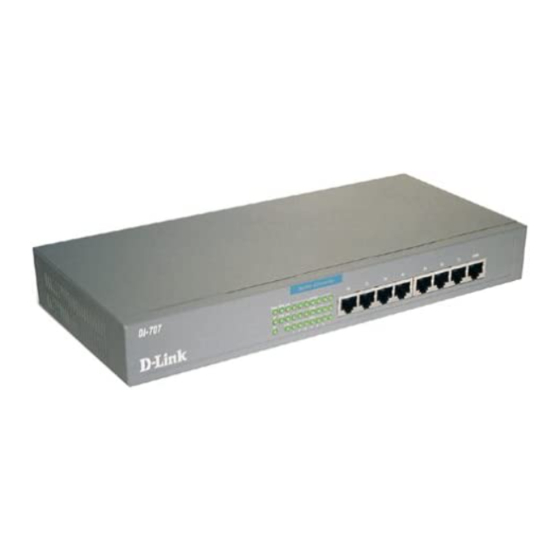
DI-707 Quick Installation Guide
1. Hardware Installation
A. Setup LAN connection: connect an Ethernet cable (provided) from your computer's
Ethernet port to one of the LAN ports on the DI-707.
B. Power on: connect the power cord to a power outlet and turn the power switch on. The
DI-707 will automatically enter the self-test phase. When in the self-test phase, the
indicators M1 and M2 will be lit for about 5 seconds, and then M1 and M2 will flash
three times to indicate that the self-test operation has finished. Finally, the M1 will
flash continuously once per second to indicate that the DI-707 is in normal operation.
C. Setup WAN connection: connect the network cable from your cable or DSL modem
to the WAN port of the DI-707. If you don't see a link light on the WAN LED after
everything is connected and turned on, try the network cable provided with the DI-707.
2. Find and Write Down Your Computer's Internet Settings
A. Open the Control Panel
B. Find and Double Click the Network Icon
C.
Click the Identification Tab
Rev: 10102000
Advertisement

Summary of Contents for D-Link DI-707
- Page 1 C. Setup WAN connection: connect the network cable from your cable or DSL modem to the WAN port of the DI-707. If you don’t see a link light on the WAN LED after everything is connected and turned on, try the network cable provided with the DI-707.
- Page 2 D. Write down your computer name on a sheet of paper. E. Click the Configuration Tab. It should list your network (Ethernet) adapter and the loaded network protocols and services. Find TCP/IP for the network adapter connected to your Cable/DSL modem. Find and double click the TCP/IP setting for your Network Adapter that connects to your cable or DSL modem, if you have not yet installed your network card, install your network card and return to this step.
- Page 3 G. Note : You need to determine whether or not you are using PPPoE. If you are using PPPoE, begin Step 5. If you are not using PPPoE, proceed below. H. Write down whether "Obtain An IP Address Automatically" or "Specify an IP J.
- Page 4 L. If Specify was checked, find and write down your DNS Server addresses _____.____.____.____ , ____.____.____.____. There are normally two, but only one is needed. In step 4 all of this information will be required to configure the DI-707 with your provider.
- Page 5 4.0 or higher. If you are using proxy settings, either remove the proxy settings or add the IP address of the DI-707 into the exceptions box. Type the DI-707’s IP address (default is: http://192.168.0.1) in the Location (for Netscape) or Address (for IE) field and press ENTER.
- Page 6 4.0 or higher. If you are using proxy settings, either remove the proxy settings or add the IP address of the DI-707 into the exceptions box. Type the DI-707’s IP address (default is: http://192.168.0.1) in the Location (for Netscape) or Address (for IE) field and press ENTER.
- Page 7 After all of the items are set, press the Save button and reboot the DI-707. You have now configured the DI-707. Refer to the User manual to review features and operation instructions that you may need for your use. Rev: 10102000...


