Table of Contents
Advertisement
Owner's
Manual
1 HP (Max, DeveUoped)
1410 and 2600 FoP.M.(No Load)
Leg Stand
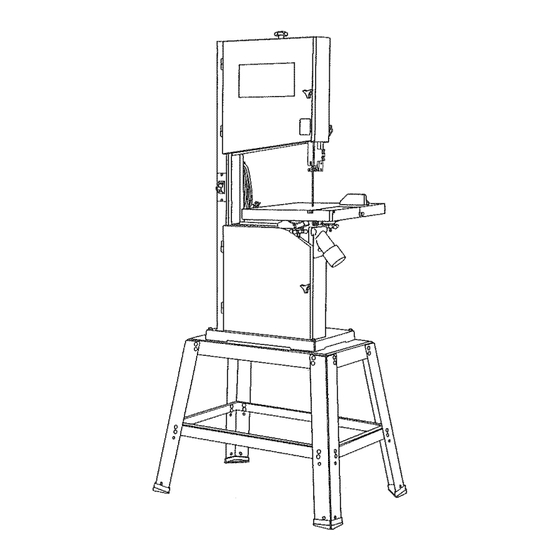
12" BAN
SAW
Mode! No.
137.224120
CAUTmON:
Before using this band saw,
read this manual and follow
all its Safety Rules and
Operating
Instructions.
Safety instructions
installation
• Operation
o Maintenance
Parts List
Custemer
Help
Line
t =8ee=843.1¢82
Sears,
Roebuck
and Coo, Hoffman
Estates,
JL 60179
USA
Part No. 137224120002
Advertisement
Table of Contents

Summary of Contents for Craftsman 137.224120
- Page 1 Owner's Manual 1 HP (Max, DeveUoped) 1410 and 2600 FoP.M.(No Load) Leg Stand 12" BAN Mode! No. 137.224120 Safety instructions CAUTmON: installation Before using this band saw, read this manual and follow • Operation all its Safety Rules and o Maintenance Operating Instructions.
- Page 2 GENERAL SAFETY INSTRUCT ONS 11. WEAR PROPER APPAREL. DO NOT wear loose clothing, gloves, neckties, rings, bracelets, or other SECTRON PAGE jewelry which may get caught in moving parts. Non-slip BEFORE USING BAND footwear is recommended. Wear protective hair covering Warranty ..............
- Page 3 _0. NEVER LEAVETOOL RUNNING UNATTENDED. PLAN intricate and small work carefully to avoid INSTALLED BY A QUALIFIED ELECTRICIAN. The tool, use proper circuit protection. Use a separate electrical TURN THE POWER OFF. Don't leave the tool until it pinching the blade. Avoid awkward operation and hand circuit for your tools.Your saw is wired at the factory for Canadian Electrical Code prohibits the use of adapters.
- Page 4 UNPACKUNG YOUR BAND SAW UNPACKING AND CHECKING CONTENTS ::{ECOMMENDED ACCESSORUES 'isit your Sears Hardware Department or see the ;raftsman Power and Hand Tool Catalog to purchase To avoid injury from unexpected starting, do not plug the _commended accessories for this power tool. power cord into a power source receptacle during unpacking and assembly.
- Page 5 Lower blade CRAFTSMAN BAND SAW TERMS HEEL - Misalignment of the blade. Upper blade wheel upper cover support bearing KERF- The material removed by a blade in a through cut, BLADE GUIDES - Support the blade and keep it from...
- Page 6 FIG. 0-1 ASSEMBLE THE TABLE Mounting the trunnion support bracket (F_G. C) Place the trunnion support bracket (1) on the saw body, as shown, Insert two tong hex head bolts (2, 3) with flat washers (4) into the threaded holes, through the bracket and saw ,SSEMBLY NSTRUCTIONS body.
- Page 7 iNSTALLiNG AND REMOVING BLADES (FIG F) _NSTALL POWER CORD BRACKETS (FIG. H) ADJUSTING THE 90' TABLE STOP (FIG. J) Loosen the table aock knobs (t) and tilt the table to the Power cord brackets (1) are provided for convenier_t cord storage. Attach the power cord brackets to the back right.
- Page 8 Tighten the set screws. UPPER BLADE GUIDE ASSEMBLY {F_G. M) If the blade moves toward the front of the wheel, turn ILADETENSION (FIG. K, K-l) Loosen the side set screw (4) by turning the tracking knob (5) clockwise. This tilts the top of the counterclockwise.
- Page 9 Remove the v-belt (6) from the motor pulley (7). (FIG. S) FIG, Q LOWER BLADE GUIDES AND SUPPORT BEARING To avoid injury, the belt tension, the blade tension, tracking, Place a straight edge in the front groove of both and upper and lower guides and bearings must be properly pulleys.
- Page 10 BLADE SELECTION (FIG.W) CAUTION: Blade teeth are sharp. Use care whenhandling To avoid possible injury or damage, NEVER use this band a saw blade. saw to cut ferrous metals. 3AS!C SAW OPERATIONS Sharp saw blades need little pressure for cutting. Steadily For longest wear and best cutting results, use the correct move the workpiece against the blade without forcing it.
- Page 11 Do not overtighten. Do not allow filth to build up on the table, the guides, or the support bearings. Clean them with Craftsman Gum and NOTE: The belt is properly tensioned if there is 1/2"...
- Page 12 TROUBLESHOOTING GUnDE 137.224120 CRAFTSMAN 12" BAND TROUBLESHOOTING GUIDE CRAFTSrgAN 12" BAND 137,224120 MOTOR Probmem Probable Cause Remedy To avoid injury from an accidental start, turn the switch OFF and always remove the plug from the power source before -naking any adjustments.
- Page 13 CRAFTSMAN BAND ..RAFTSMAN 12" BAND I37.224120 ® hen servicing use only CRAFTSMAN replacement parts. Use of any other parts may create a HAZARD or cause oduct damage. ® ty attempt to repair or replace electrical parts on this band saw may create...
- Page 14 CRAFTSMAN 12" BAND SAW LEG STAND 137.224120 When servicing use only CRAFTSMAN replacement parts. Use of any other parts may create a HAZARD or cause product damage+ Any attempt to repair or replace electrical parts on this band saw may create a HAZARD unless repair is done by a qualified service technician.


