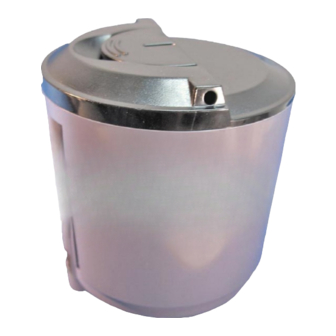
Samsung CLP-300 Remanufacturing Instructions
Toner cartridge
Hide thumbs
Also See for CLP-300:
- Service manual (160 pages) ,
- User manual (91 pages) ,
- Brochure & specs (6 pages)
Advertisement
Quick Links
SAMSUNG
CLP-300
®
TONER CARTRIDGE REMANUFACTURING INSTRUCTIONS
SAMSUNG
CLP-300 TONER CARTRIDGE
®
www.uninetimaging.com
© 2010 UniNet Imaging Inc. All trademark names and artwork are property of their respective owners. Product brand names mentioned are intended to show compatibility only.
UniNet Imaging does not warrant downloaded information. Unauthorized sale, reproduction or distribution of this article is prohibited. For additional support, please contact techsupport@uninetimaging.com
Advertisement

Summary of Contents for Samsung CLP-300
- Page 1 CLP-300 ® TONER CARTRIDGE REMANUFACTURING INSTRUCTIONS SAMSUNG CLP-300 TONER CARTRIDGE ® www.uninetimaging.com © 2010 UniNet Imaging Inc. All trademark names and artwork are property of their respective owners. Product brand names mentioned are intended to show compatibility only. UniNet Imaging does not warrant downloaded information. Unauthorized sale, reproduction or distribution of this article is prohibited. For additional support, please contact techsupport@uninetimaging.com...
- Page 2 SAMSUNG CLP-300 • TONER CARTRIDGE REMANUFACTURING INSTRUCTIONS REMANUFACTURING THE SAMSUNG CLP-300 TONER CARTRIDGE By Javier Gonzalez and the Technical Staff at UniNet 1. Samsung CLP-300 cartridge with front end cap. 2. Side view of cartridge. BOTTOM 3. Gear side of cartridge with OEM chip.
- Page 3 SAMSUNG CLP-300 • TONER CARTRIDGE REMANUFACTURING INSTRUCTIONS TOP - NO DRILL 5. In order to clean and fill the cartridge with new toner, we 6. Do not drill or place any seal or adhesive on/near the top must first create a small hole by drilling through either side.
- Page 4 SAMSUNG CLP-300 • TONER CARTRIDGE REMANUFACTURING INSTRUCTIONS 8. Clean the inside of the cartridge thoroughly using 9. Insert a funnel through the hole. Be sure to shake the toner compressed air or a vacuum. With a half -inch hole, it would be bottle well before opening.
- Page 5 SAMSUNG CLP-300 • TONER CARTRIDGE REMANUFACTURING INSTRUCTIONS REPLACING THE CHIP 11. UPDATE: Do not attempt to remove the complete OEM chip as it is fused into the cartridge. You will on the other hand, need to remove the OEM contact by using a small flat head screw driver and prying them off.


