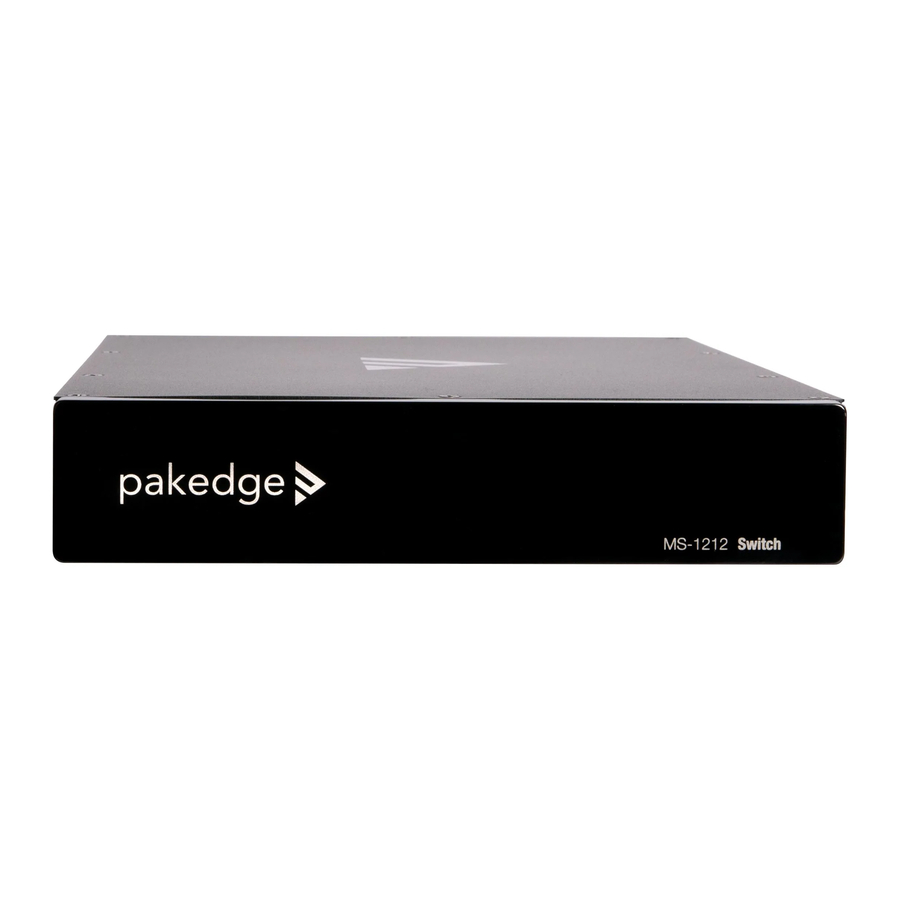
Summary of Contents for Pakedge MS-1212
- Page 1 Cloud-Managed Switches MS-1212, MS-2400, MS-2416, MS-2424, MS-4424 QUICK START GUIDE...
-
Page 2: Regulatory Compliance Statement
Pakedge cloud-managed switch series Pakedge’s cloud-managed switches offer several models to fit size and power requirements for large or small networks. With key Layer 3 managed switch functionality, this series of switches is best suited for high-end multimedia and control applications. - Page 3 Switch port overview Ports with no Ports with Power Total ports SFP+ ports PoE support PoE+ budget MS-1212 190W (2) 10G ports MS-2400 (2) 10G ports MS-2416 245W (2) 10G ports MS-2424 370W (2) 10G ports MS-4424 370W (4) 10G ports...
- Page 4 Installing Tools required: • Phillips screwdriver (if using rack-mount brackets) • Computer with Ethernet interface and a modern web browser • Ethernet cable • Optional: A USB Micro-B adapter (not included) is necessary to use the console interface. To set up any of these switches: 1 Remove the switch from the box.
- Page 5 Rack mount diagrams MS-1212 (1 unit per rack) MS-2400, MS-2416, MS-2424, MS-4424 (1 unit per rack)
- Page 6 MS-1212 (2 units per rack)
- Page 7 Logging in through the network You can log in to the switch’s interface using a web browser on a computer that’s connected to the network. To log in through the network: 1 Connect the managed switch to a power source. The PWR LED lights up and the fans power on.
-
Page 8: Console Into The Switch
Console into the switch Pakedge MS Series switches have a USB Micro B console port that serves as an out- of-band management point of switch access. This can be useful when network access to the switch is not available. A USB console driver installed by your operating system may be required before you can access the console. - Page 9 Resetting the IP address through the console You can reset the switch’s IP address through the console. This can be helpful in case of missconfiguration. 1 Console into the switch as described above. 2 Type “show network” and press Enter to see the current IP address and protocol mode.
-
Page 12: Technical Support
Technical Support For technical help: www.pakedge.com/portal support@pakedge.com (650) 385-8703 For regulatory information: www.pakedge.com/regulatory Latest version at pkdge.co/ms-qsg 11734 S. Election Road Draper, UT 84020 Main: (650) 385-8700 Fax: (650) 685-5520 www.pakedge.com sales@pakedge.com 200-00647-B 2020-05-30 MS ©2020 Wirepath Home Systems, LLC. All rights reserved.


