Table of Contents
Advertisement
Obtaining Other Language Versions: To obtain information in another language about the use of this product, please contact your local Crown Distributor. If you need
assistance locating your local distributor, please visit Crown at www.crownaudio.com.
This manual does not include all of the details of design, production, or variations of the equipment. Nor does it cover every possible situation which may arise during
installation, operation or maintenance.
The information provided in this manual was deemed accurate as of the publication date. However, updates to this information may have occurred. To obtain the latest
version of this manual, please visit the Crown website at www.crownaudio.com.
Later versions of this manual and additional information about this product may be available at the Crown website at www.crownaudio.com.
Trademark Notice: Crown and Crown Audio are registered trademarks of HARMAN International.
© 2020 by HARMAN International®, Inc. 8500 Balboa Blvd. Northridge, CA 91329
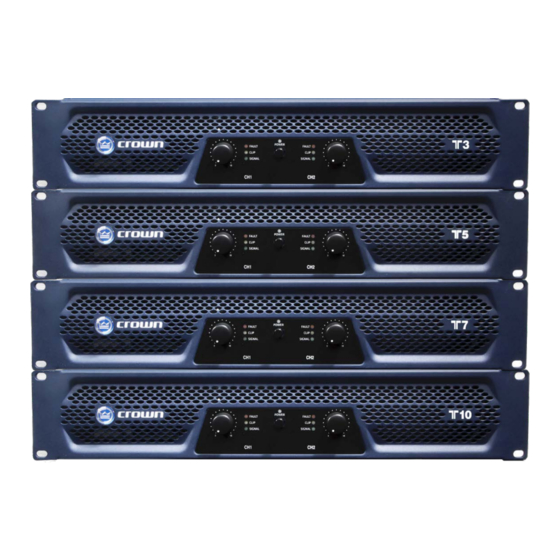
T-Series
Operation Manual
• T3
• T5
• T7
• T10
5054133-A – 07/20
Advertisement
Table of Contents

Summary of Contents for Harman Crown T Series
- Page 1 Later versions of this manual and additional information about this product may be available at the Crown website at www.crownaudio.com. Trademark Notice: Crown and Crown Audio are registered trademarks of HARMAN International. © 2020 by HARMAN International®, Inc. 8500 Balboa Blvd. Northridge, CA 91329...
- Page 2 Important Safety Instructions WARNING: PAY ATTENTION TO A PROCEDURE, PRACTICE, CONDITION 1. Read these instructions. OR THE LIKE, IF NOT CORRECTLY PERFORMED OR ADHERED TO, COULD RESULT IN PERSONAL INJURY OR DEATH. 2. Keep these instructions. CAUTION: PAY ATTENTION TO PROCEDURE, PRACTICE, CONDITION OR THE LIKE, IF NOT CORRECTLY PERFORMED OR ADHERED TO, COULD 3.
- Page 3 Declaration of Conformity DECLARATION OF CONFORMITY Issued By: Harman International. 1718 W. Mishawaka Rd. Elkhart, IN 46517 U.S.A. European Representative’s Name and Address: David J. Budge 10 Harvest Close Yateley GU46 6YS United Kingdom Equipment Type: Commercial Audio Power Amplifiers...
-
Page 4: Table Of Contents
Table of Contents Front Panel Features ������������������������������������������������������������ 1 Back Panel Features ������������������������������������������������������������� 1 Installation Instructions ��������������������������������������������������������� 2 Unboxing the Amplifier ......................2 Installing the Amplifier ......................2 Proper Cooling ........................2 Wiring ����������������������������������������������������������������������������� 3 Stereo (Dual) Wiring Using Both Speakon Connectors ............ -
Page 5: Front Panel Features
Front Panel Features Fault LED Gain Control Gain Control Power LED Red LED, one per Sets ouptut level of channel, indicates Sets ouptut level of LED illuminates blue channel 1. channel shutdown. channel 2. when amplifier is on. Rack-Mount Hole Power Switch Grill (one of four) -
Page 6: Installation Instructions
Installation Instructions Unboxing the Amplifier Please open the packing box and check whether the equipment has been damaged during transportation. If damage is found, please notify the transportation company immediately. Only you can make a claim for shipping damage. Crown is happy to help as needed. Keep the shipping carton and use it as evidence of damage to the equipment when the shipper checks it. -
Page 7: Wiring
Wiring Stereo (Dual) Wiring Using Both Speakon Connectors ® 1� On the back panel, set the Output Mode Switch to STEREO. 2� Wire the speakers to the Speakon® connectors as shown. CH1 Speakon® CH2 Speakon® Stereo (Dual) Wiring Using One Speakon Connector ®... -
Page 8: Stereo (Dual) Wiring Using One Speakon
Wiring (continued) Stereo (Dual) Wiring Using Binding Post Connectors 1� On the back panel, set the Output Mode Switch to STEREO. 2� Wire the speakers to the binding post connectors as shown. Bridge-Mono Wiring Using Speakon Connectors ® Bridge-mono mode doubles the output power of the amplifier. 1�... -
Page 9: Bridge-Mono Wiring Using Speakon
Wiring (continued) Bridge-Mono Wiring Using Binding Post Connectors Bridge-mono mode doubles the output power of the amplifier. 1� On the back panel, set the Output Mode Switch to BRIDGE. 2� Wire the speaker to the binding post connections as shown. 3�... -
Page 10: Parallel Wiring Using Speakon
Wiring (continued) Parallel Wiring Using Binding Post Connectors With this wiring, a signal sent to one of the input connectors is paralleled to both channels so that it is reproduced by both speakers. 1� On the back panel, set the Output Mode Switch to PARALLEL. 2�... -
Page 11: Specifications
Specifications Guaranteed Minimum Power 4 ohms stereo (per channel) 450W 750W 950W 1350W 8 ohms stereo (per channel) 330W 500W 675W 1000W 8 ohms bridge mono 900W 1500W 2000W 2700W (1 kHz (EIA) with 0.5% THD) Performance Frequency Response (at 1 watt) 20 Hz –... -
Page 12: Warranty
Warranty SUMMARY OF WARRANTY Crown International, 8500 Balboa Blvd. Northridge, CA 91329 U.S.A. warrants to you, the ORIGINAL PURCHASER and ANY SUBSEQUENT OWNER of each NEW Crown product, for a period of one (1) year from the date of purchase by the original purchaser (the “warranty period”) that the new Crown product is free of defects in materials and workmanship.


