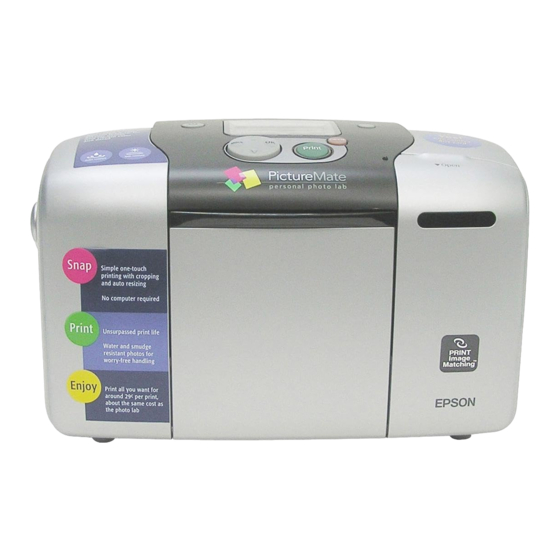
Epson PictureMate Start Here Manual
C11c556001
Hide thumbs
Also See for PictureMate:
- Using manual (79 pages) ,
- Product information (11 pages) ,
- Start here manual (6 pages)
Advertisement
Start Here
Set up your PictureMate and
print –no computer required!
To print from your computer, see Using PictureMate With a
Note:
Computer and your CD after completing these steps.
1
Unpack
PictureMate comes with all these items in the box.
Remove all the tape and packing material from PictureMate.
Using PictureMate
Without a Computer
2
Install the Photo
Cartridge
1
Flip the handle to the
front of PictureMate.
2
Open the cartridge door
on the back of PictureMate.
You see the release lever.
PictureMate
book
Caution:
To avoid damaging your PictureMate,
keep it out of the sun and don't leave it in your
car or other location where it can get too hot.
Power adapter
Power cable
Printer
Using PictureMate
+
Software
CD
Handle
Paper
Photo cartridge (ink)
With a Computer
booklet
Lever
Advertisement
Table of Contents

Summary of Contents for Epson PictureMate
-
Page 1: Start Here
Start Here Set up your PictureMate and print –no computer required! To print from your computer, see Using PictureMate With a Note: Computer and your CD after completing these steps. Unpack PictureMate comes with all these items in the box. Remove all the tape and packing material from PictureMate. - Page 2 Move the lever to the Release position by sliding it in the direction shown. Shake the photo cartridge a few times in its package, then unwrap the cartridge. Slide the cartridge straight into the slot, label side up, until it is fully inserted. Push in both sides evenly to make sure it is not crooked.
-
Page 3: Load Paper
Plug In and Turn On PictureMate Connect the power cable to the power adapter. Plug the small cable into the back of PictureMate. Plug the other end of the power cable into a standard power outlet. Press the PictureMate gets the ink ready for printing. You see this message: After a few minutes, when PictureMate is ready, you see this message:... -
Page 4: Memory Card
Place your paper against the right edge, with the glossy side up. Note: Load up to 20 sheets at one time. Slide the edge guide against the paper. Note: Keep unused paper in the original package and store it flat to prevent curling. -
Page 5: Print A Proof Sheet
Push the card in until it stops (it won’t go in all the way). When the card is in, the card light comes on. Card light Note: Insert just one card at a time. The printer does not read multiple cards at once. Close the memory card door. -
Page 6: Print Photos
User’s Guide. View the User’s Guide for complete instructions on using PictureMate. Epson is a registered trademark and PictureMate is a trademark of Seiko Epson Corporation. General Notice: Other product names used herein are for identification purposes only and may be trademarks of their respective owners. Epson disclaims any and all rights in those marks.


