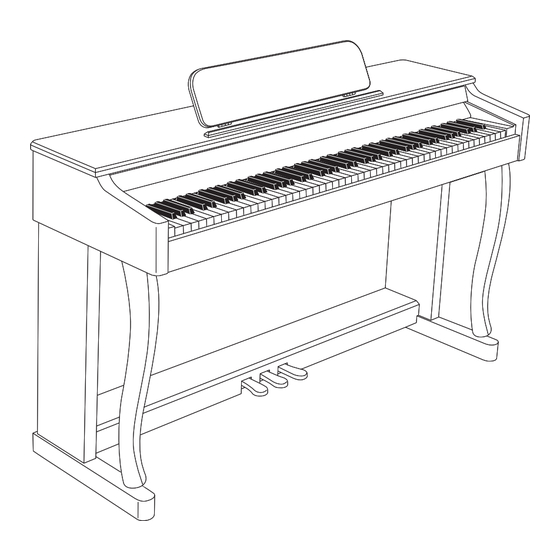
Summary of Contents for Vangoa VDP-H200
- Page 1 H OM E DI GI TAL PI ANO VDP-H200 This product is subject to change without prior notice.
-
Page 3: Table Of Contents
CON TE NT FEATURES HIGHLIGHT--------------------------------------------------------------- SAFETY PRECAUTIONS--------------------------------------------------------------- PACAGE INCLUDINGS---------------------------------------------------------------- SETTING UP GUIDE ------------------------------------------------------------------ PART DESCRIPTION------------------------------------------------------------------ OPERATION GUIDE------------------------------------------------------------------ PRODUCT MAINTENACE------------------------------------------------------------ VANGOA DIGITAL PIANO... -
Page 5: Features Highlight
Thank you for choosing the VANGOA digital piano. This product is elegant and exquisite. It is the perfect presentation of contemporary new electronic technology and acoustics. Before using the instrument, please read this manual carefully. Please keep this manual handy for furture reference. -
Page 6: Safety Precautions
) indicates what must be observed. The diagrams in this sign indicate the contents of the specific matters that must be observed. (The example on the left is that the power plug must be pulled out of the socket) VANGOA DIGITAL PIANO... - Page 7 6. Do not allow minors to unplug and touch power lines or connection boards. Minors have no common sense of electricity safety, which may cause electric shock. VANGOA DIGITAL PIANO...
- Page 8 Before cleaning this product, you must unplug the power cord plug from the wall outlet, otherwise there is a risk of fire and electric shock. VANGOA DIGITAL PIANO...
-
Page 9: Pacage Includings
PACK AG E INC LU DIN GS MAIN BODY LEFT&RIGHT LEGS LEFT&RIGHT STANDS PEDAL BEAM DOWELS(*8) SCREWS(*16) BACK PLATE POWER ADAPTOR OTHER ACCESSORIES MAY BE DIFFERENT VANGOA DIGITAL PIANO... -
Page 10: Setting Up Guide
STEP 1 Untie the cable hidden in the pedal beam, then thread the cable through the beam. STEP 2 Attach the left stand and right stand with the pedal beam. Fasten the screws with a screw driver. VANGOA DIGITAL PIANO... - Page 11 Install the back plate with 8 screws as shown in the illustration below. STEP 4 Insert the dowels into holes on the left and the right legs (4 on each side), then attach the legs to the left and right stands, as shown in the illustration below. VANGOA DIGITAL PIANO...
- Page 12 STEP 6 Insert the pedal plug into the pedal jack at the back bottom of the main body. The assembly is completed, now the piano is ready to connect to power supply. VANGOA DIGITAL PIANO...
-
Page 13: Part Description
The built-in loudspeakers will be cut off if you insert a plug into any of the sockets. This allows you to play quietly without disturbing others when playing. This product has two headphone sockets, which allow two sets of headphones in use at the same time. VANGOA DIGITAL PIANO... - Page 14 The sostenuto pedal is similar to the sustain pedal but sustains only notes(keys) that are depressed at the time the pedal is depressed. SOFT SOSTENUTO SUSTAIN Soft Pedal (left pedal) When pressed, the pedal “weaken” the sound. VANGOA DIGITAL PIANO...
- Page 15 PART DESC R IP T ION VANGOA DIGITAL PIANO...
-
Page 16: Operation Guide
SCHERZO IN B FLAT MINOR GAVOTTE POLONAISE A MAJ, Op.40 No.1 LAST SUMMER THE TROUT FIVE HUNDRED MILES JAZZ WALTZ OF STARLIGHT GIVE ME A ROSE SALUT D’AMOUR BARCAROLE SUMMER PALACE BLUE LUNCH THE STAGE COACH CANON VANGOA DIGITAL PIANO... - Page 17 In dual tone mode, the volume of the 1st tone is fixed. You can adjust the volume of the 2nd tone by pressing and holding the “TONE/DEMO” button and pressing the white key a3 (-) or b3(+) in the “BALANCE” area. HOLD+ 1st TONE 2nd TONE VANGOA DIGITAL PIANO...
- Page 18 5BEATS 6BEATS TEMPO- TEMPO+ TOUCH SENSITIVITY The digital piano features 3 different touch-sensitivity curves. To change the touch sensitivity: Press and hold the “FUNCTION” button and press a corresponding white key in the “TOUCH” area. HOLD+ TOUCH VANGOA DIGITAL PIANO...
- Page 19 Press the “SELECT” buttons to play the previous or the next song in the disk; Press and hold a “VOLUME” button(- or +) to adjust the volume; NOTES: The device supports the MP3 format only. The MP3 playing volume is still under the control of the master volume. VANGOA DIGITAL PIANO...
- Page 20 It’s similar to track1, but the white keys are C1 and D1; The digital piano allows you to playback tracks together: Press and hold the “FUNCTION” button and press the white key E1 RECORDING PLAY ALL TRACK 2 TRACK 1 VANGOA DIGITAL PIANO...
-
Page 21: Product Maintenace
Soak the cloth in a solution and wiring it dry until it approaches drying. 4. DO NOT SHAKE, AVOID COLLISION When moving, the product should be handled carefully and lightly. Violent vibration and collision are strictly prohibited in order to avoid damage to the shell or internal electronic components. VANGOA DIGITAL PIANO... - Page 24 Products and specifications are subject to change without notice. If you have any questions or meet any problems, just contact us via Amazon Buyer-Seller Message or cs.vangoa.com. We will help you within 24 hours.


