Table of Contents
Advertisement
BOSCH
INSTALLATION
INSTRUCTION
MANUAL for
Bosch Electric Built-in Single & Double Oven
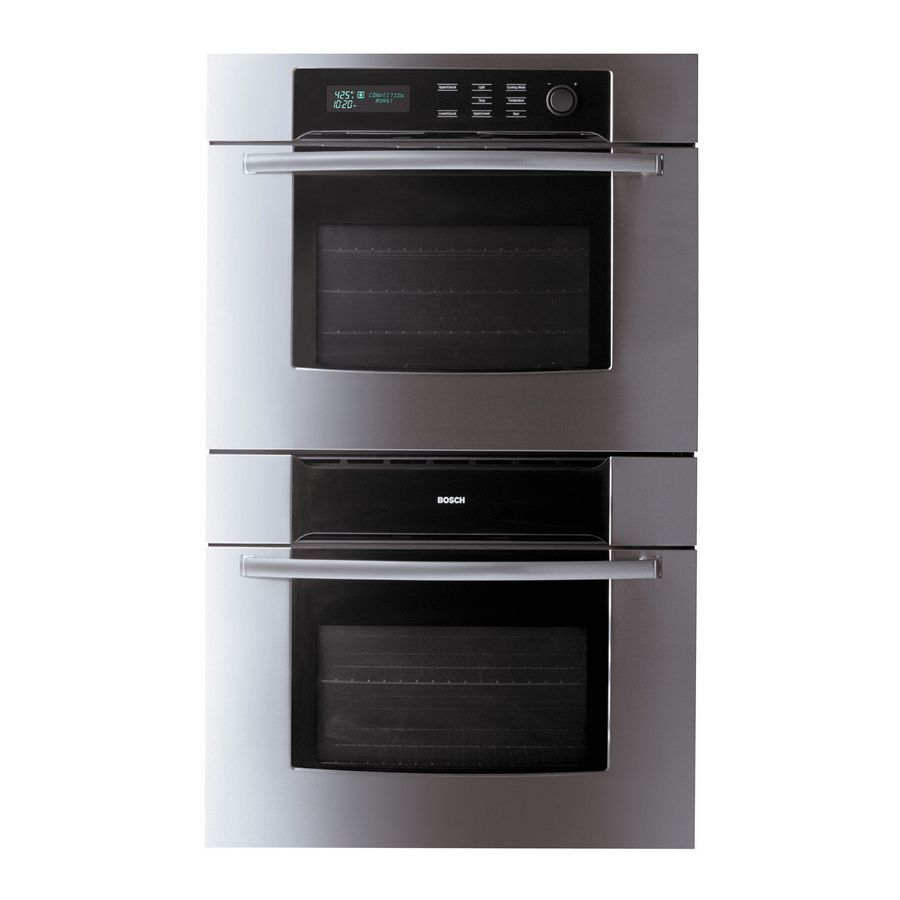
Models HBL 73oo/74oo/75oo/76oo and Models HBN 74.o/75.o/76.o
BEFORE YOU BEGIN, READ THESE ][NSTRUCTI[ONS COMPLETELY
AND CAREFULLY
Save these instructions
for the local electrical inspector's
use.
Please leave this manual
with owner for future reference.
Please keep this manual
for future
reference°
VEUILLEZ LIRE ATTENTIVEMENT CE MANUEL AVANTDE COMMENCER UINSTALLATION
2002 BSH Home Appliances
(. orp.
Advertisement
Table of Contents

Summary of Contents for Bosch HBN742AUC-01
- Page 1 BOSCH INSTALLATION INSTRUCTION MANUAL for Bosch Electric Built-in Single & Double Oven Models HBL 73oo/74oo/75oo/76oo and Models HBN 74.o/75.o/76.o BEFORE YOU BEGIN, READ THESE ][NSTRUCTI[ONS COMPLETELY AND CAREFULLY Save these instructions for the local electrical inspector's use. Please leave this manual with owner for future reference.
-
Page 2: Table Of Contents
Technical Data ..................... 4 - 5 HBL Models: Single Oven, Double Oven ............HBN Models: Single Oven, Double Oven ............Undercounter Installation ..................Single Oven ......................Wall Installation ....................7 - 8 Single Oven ......................Double Oven ....................... Electrical Supply ....................9 - 10 Wiring Requirements .................. - Page 3 INTRODUCTION POWER REQUIREMENTS Please readtheseinstructionsCOMPLETELY The oven must be supplied with the proper volt- age and frequency. The oven is mamffactured to be AND CAREFULLY.Theywill save you time and connected to a three=wire or four-wire, single phase, eflbrt and help to ensure optimum oven pertbnnance. 240 Volt, 60 Hz AC electlical supply on a separate Be sure to observe...
-
Page 4: Technical Data
TECHNICAL DATA for HBL 73o./74o./75o./76o. SINGLE OVEN For cutout dimensk_ns see folk_wmg section titled: Preparing Location and Maximum Connected Load Watts Convection Single Oven Amperes Models Volts Oven Hertz @240V/208V @240V/208V HBL 732A UC 240/208 15.4/17.2 3,600/3,500 HBL 735A UC 240/208 15.4/17.2 3,600/3,500... -
Page 5: Hbn Models: Single Oven, Double Oven
TECHNICAL DATA for HBN 74o./75o./76o. SINGLE OVEN For cutont dimem;ions see follnwing section titled: Preparing Location Electrical Ratings and Maximum Connected Load Watts Convection Amperes Volts Oven Hertz @240V/208V @240V/208V HBN 742A UC 240/208 15.8/17.6 3,650/3,550 HBN 745A UC 240/208 15.8/17.6 3,650/3,550 HBN 746A UC... -
Page 6: Undercounter Installation
UNDERCOUNTER INSTALLATION, SINGLE OVEN I Ovenelectrical s upply:Locate junctionbox I in adjacent cabinet or betow bottom supportsurface. NBL Node,s: 28"openingwidth HBN Models: 25-3/8"openingwidth Bottomsupportsurfacemustbesolid,level and able to supportat least 150 Ibs. 1/4" rain.distancebetweenoven door frameand adjacentdoorsor drawerfronts. Toespacearea . HBLModels:29ol/4"widthofovendoorframe.. NBNModels:26o5/8"... -
Page 7: Wall Installation
WALL INSTALLATION, SINGLE OVEN * HBL: HBL73../74../75../76.. * HBN:HBN 74../75../76.. Secureovento cabinetusingthescrewsprovided. S crews should be inserted through the mounting holes in the positionsindicatedin the frame (opendoor to see frame and mountingholes). Donot overtightenscrews. Note: 6. Be carefld when placing oven. DO NOT 1. -
Page 8: Double Oven
WALL INSTALLATION, DOUBLE OVEN _.5-3/8" openingwidth * HBL: HBL73../74../75../76.. * HBN: HBN74../75../76.. Secureoven to cabinet using the screws provided.Screwsshould be in- serted through the mountingholes in the positionsindicatedin the frame (opendoor to seeframe and mountingholes).Do not overtightenscrews. Note: 1. Do not slide oven across floor. Damage 6. -
Page 9: Electrical Supply
ELECTRICAL SUPPLY WIRING REQUIREMENTS When making the wire connections, use the en- Before installing the oven have a qualified elec- tire length of the conduit provided (3 feet). The con= trician verify that your home is provided with ad- dnit must not be cut. equate electrical service and that the addition of the... -
Page 10: Connecting To 208 Volt Circuit
In Canada: CONNECTING TO 208 VOLT CIRCUIT This option is provided for areas where standard Wiring rrmst conlbrm to Canadian Electrical Code C22.1- latest edition. 240 Volt selwice is not available. This option must You can obtain a copy of the Canadian Electrical be accessed with... -
Page 11: Electrical Connections
ELECTRICAL CONNECTIONS This appliance is manu_i_ctured with a green GR()I_YND wire connected to the oven chassis. After making sure that the power has been turned oft, connect the flexiNe conduit flom the oven to the junction box using a U.L. listed conduit connector. -
Page 12: Final Checklist
9. Leave these INSTALLATION instructions as well as the USE AND CARE MANUAL with the owner. BOSCH 5551 McFadden Avenue, Huntington Beach, CA 92649. 800/735-4328 09BH0260. (c; 2002 BSH Home Appliances Corp.. Litho in USA 1/02...


